.
 | BUILT Promontory Uses: condo, townhome Address: 83 Saghalie Road Municipality: Victoria Region: Urban core Storeys: 21 Condo units: (studio/bachelor, 1BR, 2BR, penthouse, townhome) Sales status: sold out / resales only |
Promontory is a 21-storey residential tower consisting of 174 condo units and three townhomes. The tower is si... (view full profile)
Learn more about Promontory on Citified.ca
Learn more about Promontory on Citified.ca

[Vic West] Promontory at Bayview | Condos | 21-floors | Built - completed in 2014
Started by
Mike K.
, Mar 18 2011 04:22 PM
Condo
3258 replies to this topic
#3222

HB
-

- Banned
- 7,975 posts
Posted 22 July 2015 - 06:00 PM
Here you go Gary
http://youtu.be/Q94dQN2Rb_I
Edited by HB, 22 July 2015 - 06:02 PM.
#3223
MarkoJ
-

- Member
- 5,820 posts
- LocationVictoria
Posted 21 September 2015 - 01:22 PM
If anyone is curious 49 of the 177 units at the Promontory are rented.
Marko Juras, REALTOR® & Associate Broker | Gold MLS® 2011-2023 | Fair Realty
www.MarkoJuras.com Looking at Condo Pre-Sales in Victoria? Save Thousands!
#3224
Gary H
-

- Member
- 3,482 posts
Posted 21 September 2015 - 03:47 PM
That's about 27.7%. Is that high or low for a building like this?
#3225
SimonH
-

- Member
- 913 posts
Posted 21 September 2015 - 05:11 PM
Our building in Coal Harbour, Vancouver:
http://www.condoinva...pphire#listings
Was almost 60% renters when we left 18 months ago.
#3226
MarkoJ
-
- Member
- 5,820 posts
- LocationVictoria
Posted 21 September 2015 - 09:32 PM
That's about 27.7%. Is that high or low for a building like this?
It is about average. You have buildings like the Juliet, 834 running at over 50% rented and 365 Waterfront at only 15%
Marko Juras, REALTOR® & Associate Broker | Gold MLS® 2011-2023 | Fair Realty
www.MarkoJuras.com Looking at Condo Pre-Sales in Victoria? Save Thousands!
#3227
Mixed365
-

- Member
- 1,042 posts
Posted 22 September 2015 - 08:38 AM
If anyone is curious 49 of the 177 units at the Promontory are rented.
That's really interesting - thanks Marko!
“To understand cities, we have to deal outright with combinations or mixtures of uses, not separate uses, as the essential phenomena.”
- Jane Jacobs
#3228
Gary H
-
- Member
- 3,482 posts
Posted 12 November 2015 - 04:20 PM
Replacing a Low-Voltage Recessed Light...
I decided to post this here vs. on our Promontory Facebook group, which I'll link here, because the photos turn out better and it's more like a blog. Plus I think this procedure is applicable to just about anyone who lives in a condo with recessed lights.
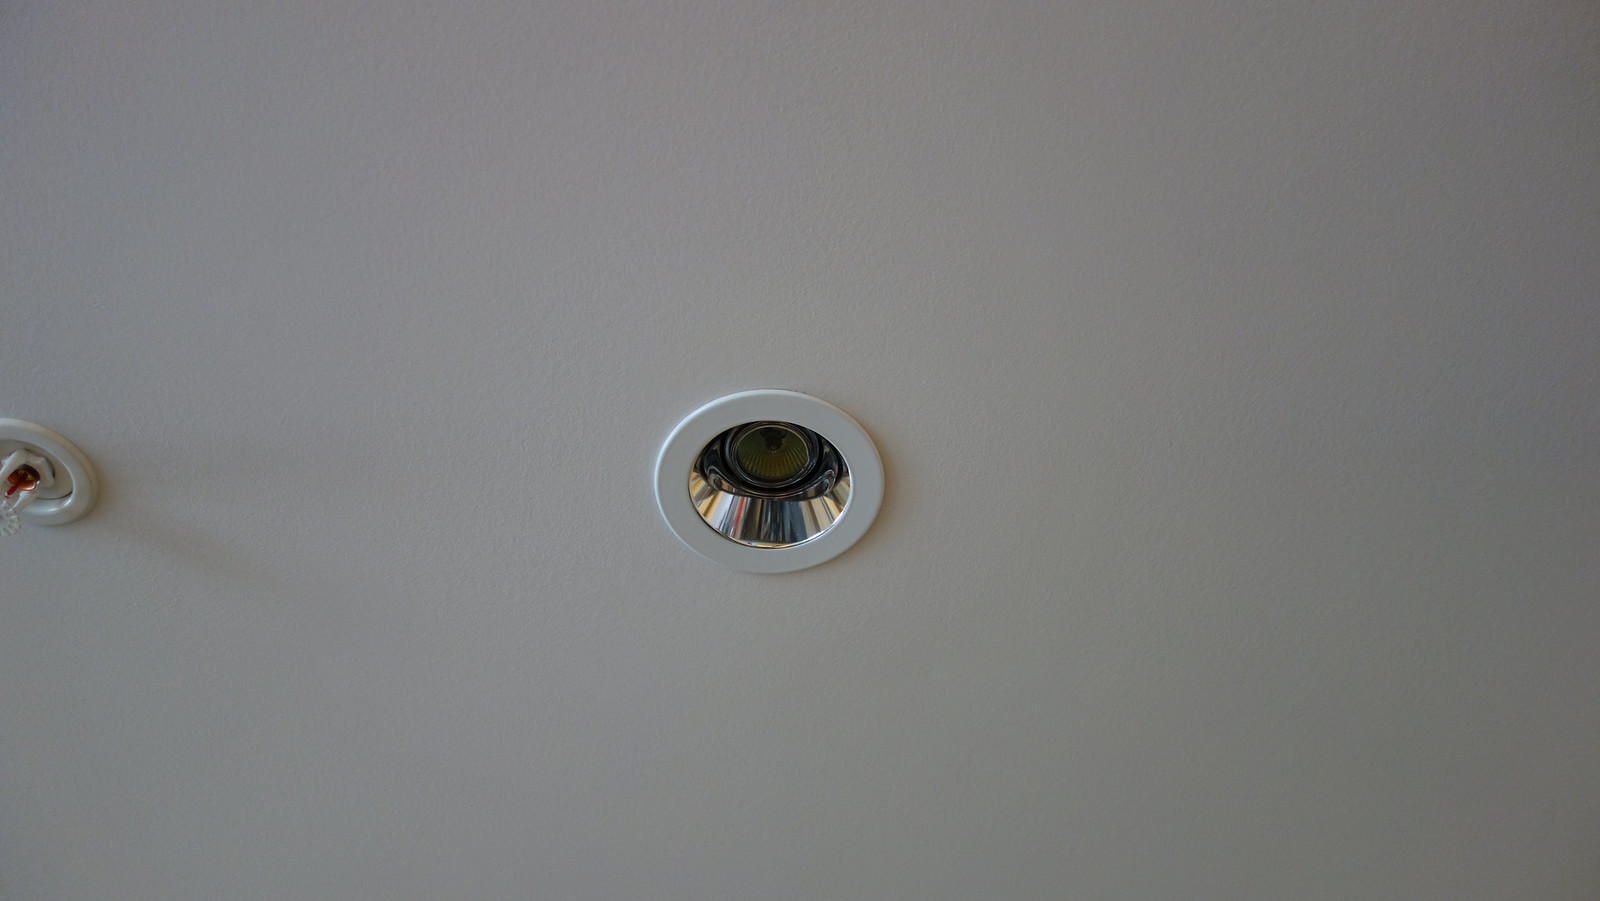
Our small Promontory condo has 13 low-voltage recessed can lights. They are all halogen MR16 GU5.3 type bulbs and our first one went out a couple of weeks ago. They are all housed in a Juno 4" TC44 housing.
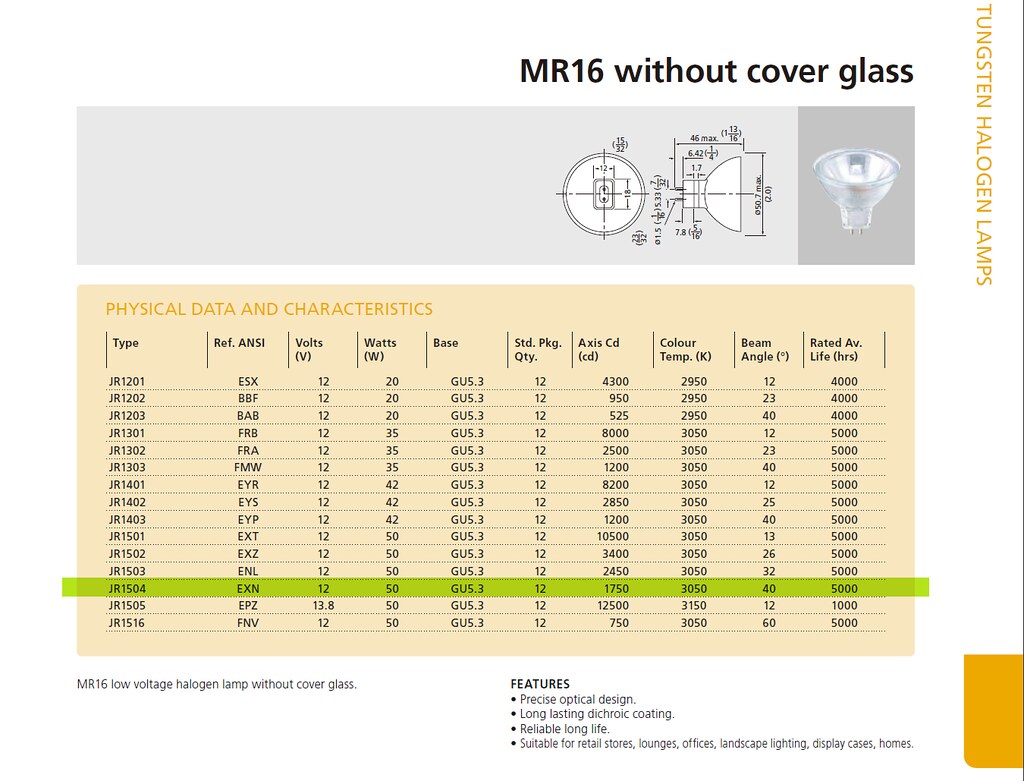
What bulb should you get?
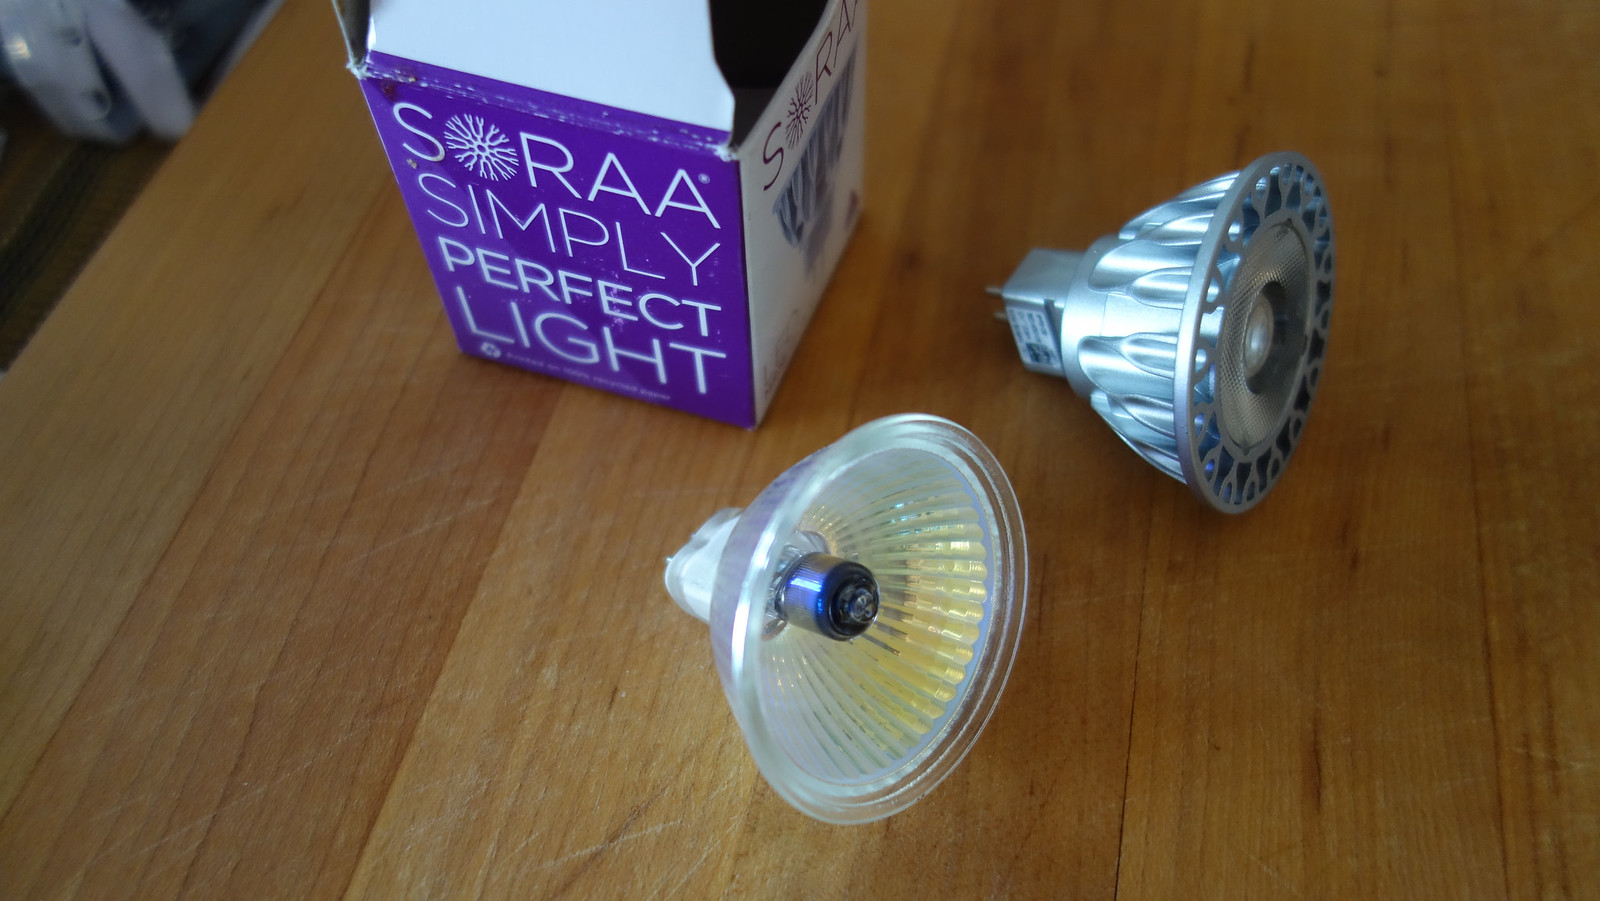
The important specs for your existing bulbs are as follows: 50W, 40 degree beam (flood), 3,000K color temp. The bulbs are model EXN by a company called EYE (I highlighted the bulb in their spec sheet below). I would recommend LED bulbs for the longevity and low power consumption but most MR16 LEDs are multi-chip designs and may not look as good as the old halogen. Whatever you get, make sure it matches the color temp or the light will look more yellow or blue than your current lights. Also, be sure its a flood, as close to the original 40 degrees as you can get. Any wider and it will surely be dimmer, if you get a narrower beam well then you'll have a spotlight.
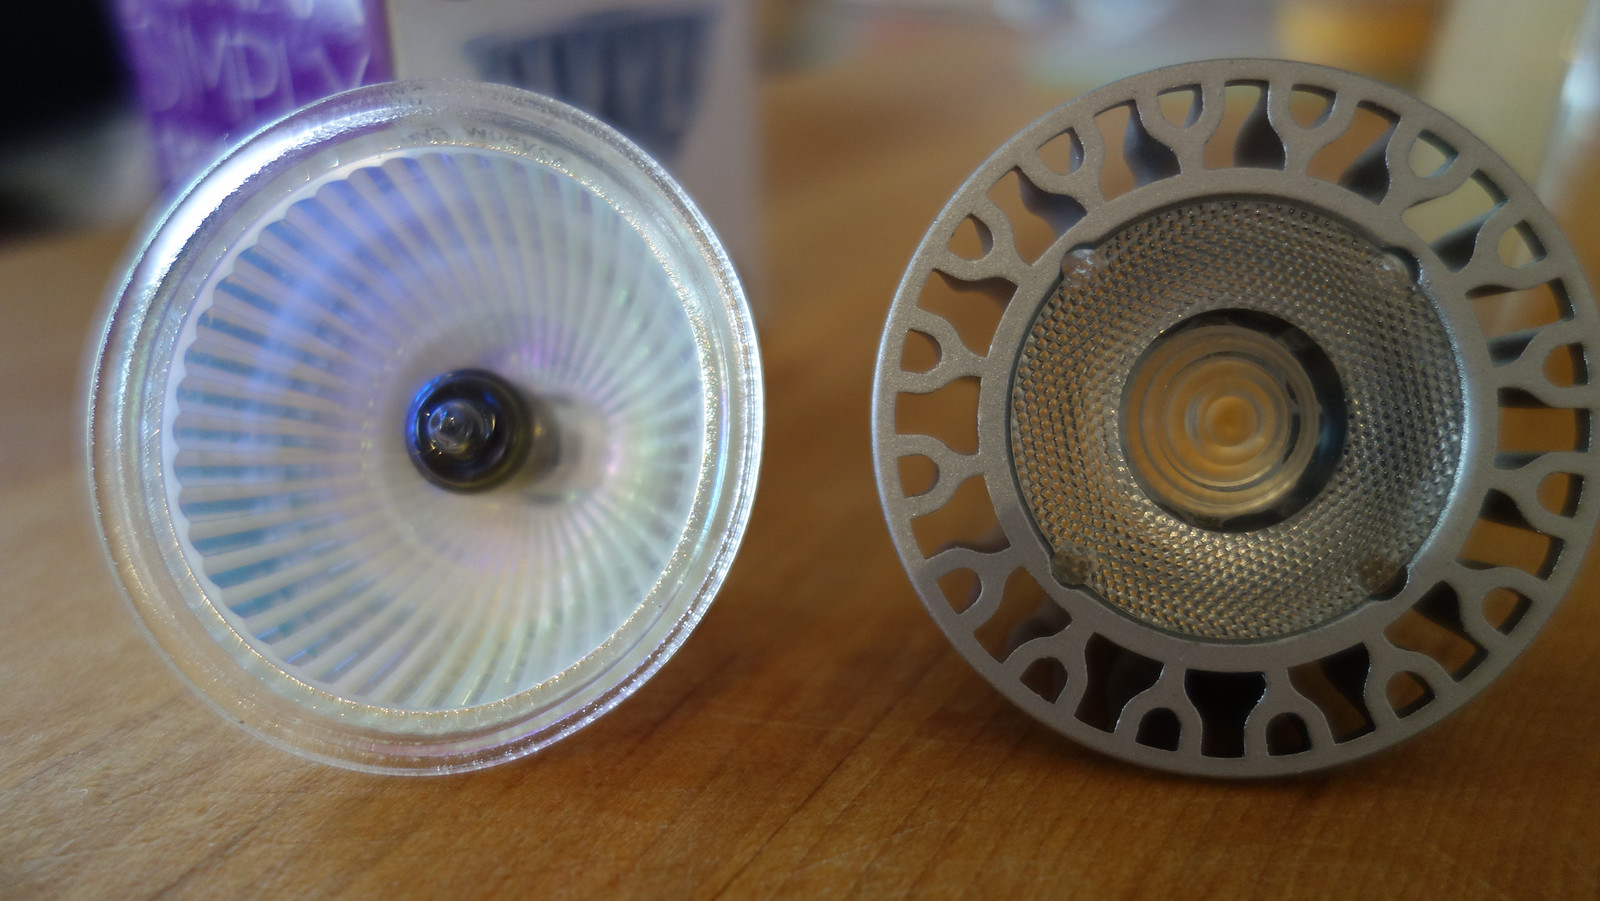
As for myself, I'm going to be replacing them with LED bulbs, actually a special kind of LED bulb made by a small company in California called Soraa that uses a unique single GaN on GaN chip and has a 95 CRI (color rendering index), in other words very accurate, full spectrum color. These are the same bulbs I used in my custom track lighting.
Alright, so here is the procedure, it's actually pretty straight forward once you've been through it once.
First, turn off the power AT THE CIRCUIT BREAKER to the lights you will be working on.
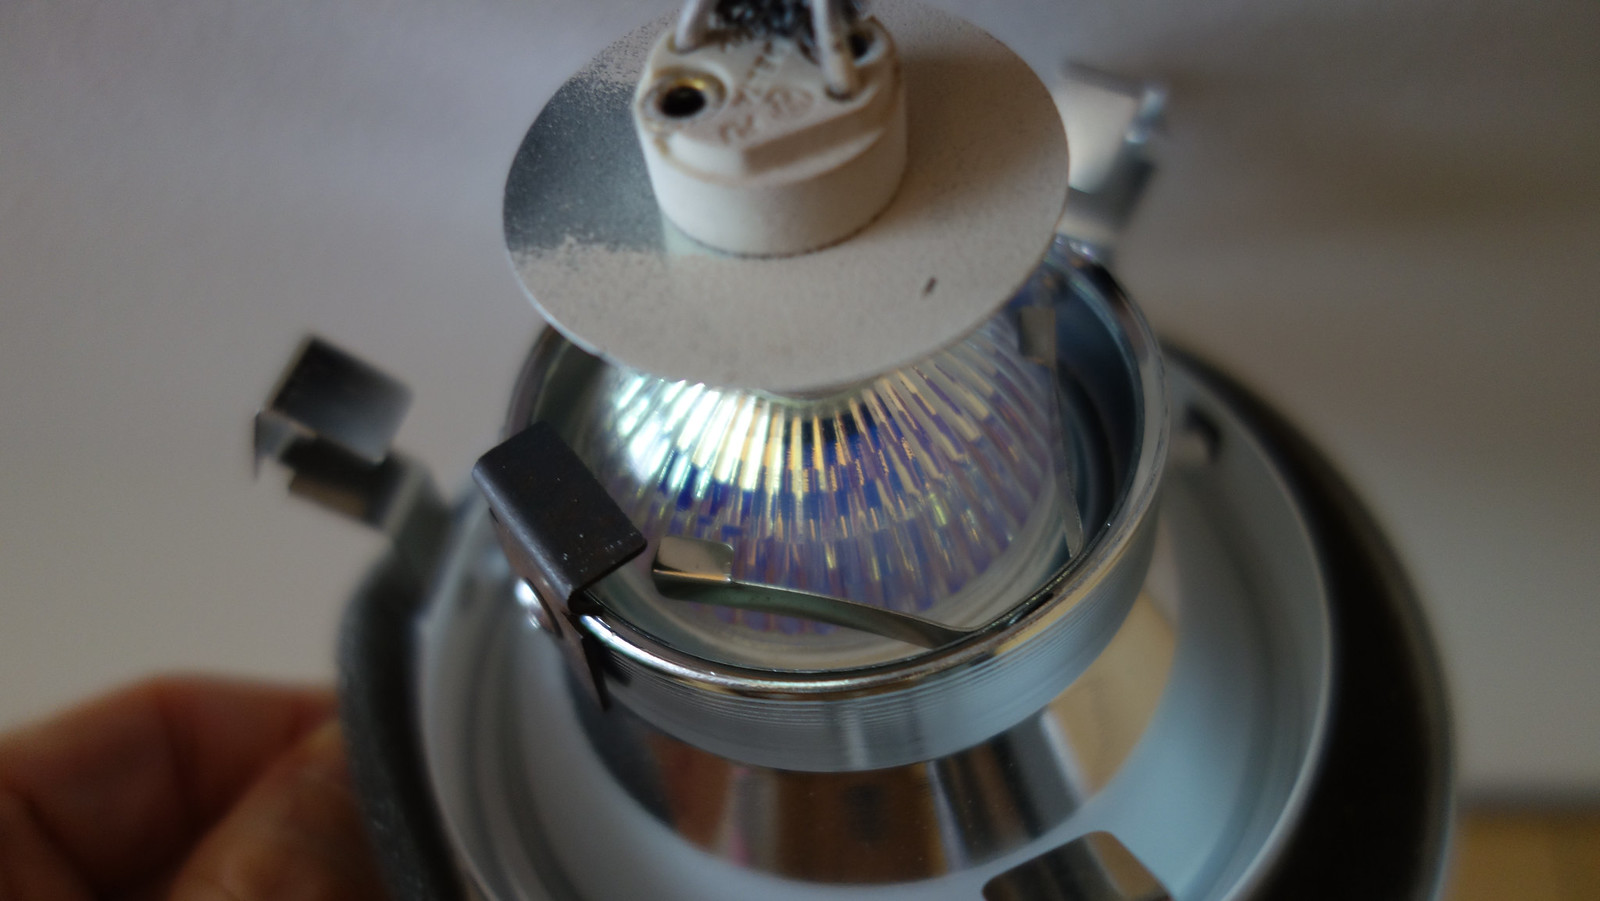
Step 1: Remove the trim kit from the ceiling. The first thing to note is that the bulb is NOT replaced from the bottom like a normal light bulb. MR16 bulbs do not screw in, they have two pins and you push or pull the bulb from the socket. Further, there is an 1/8" piece of glass in front of the bulb so there is absolutely no access to the bulb without removing the trim kit from the ceiling.
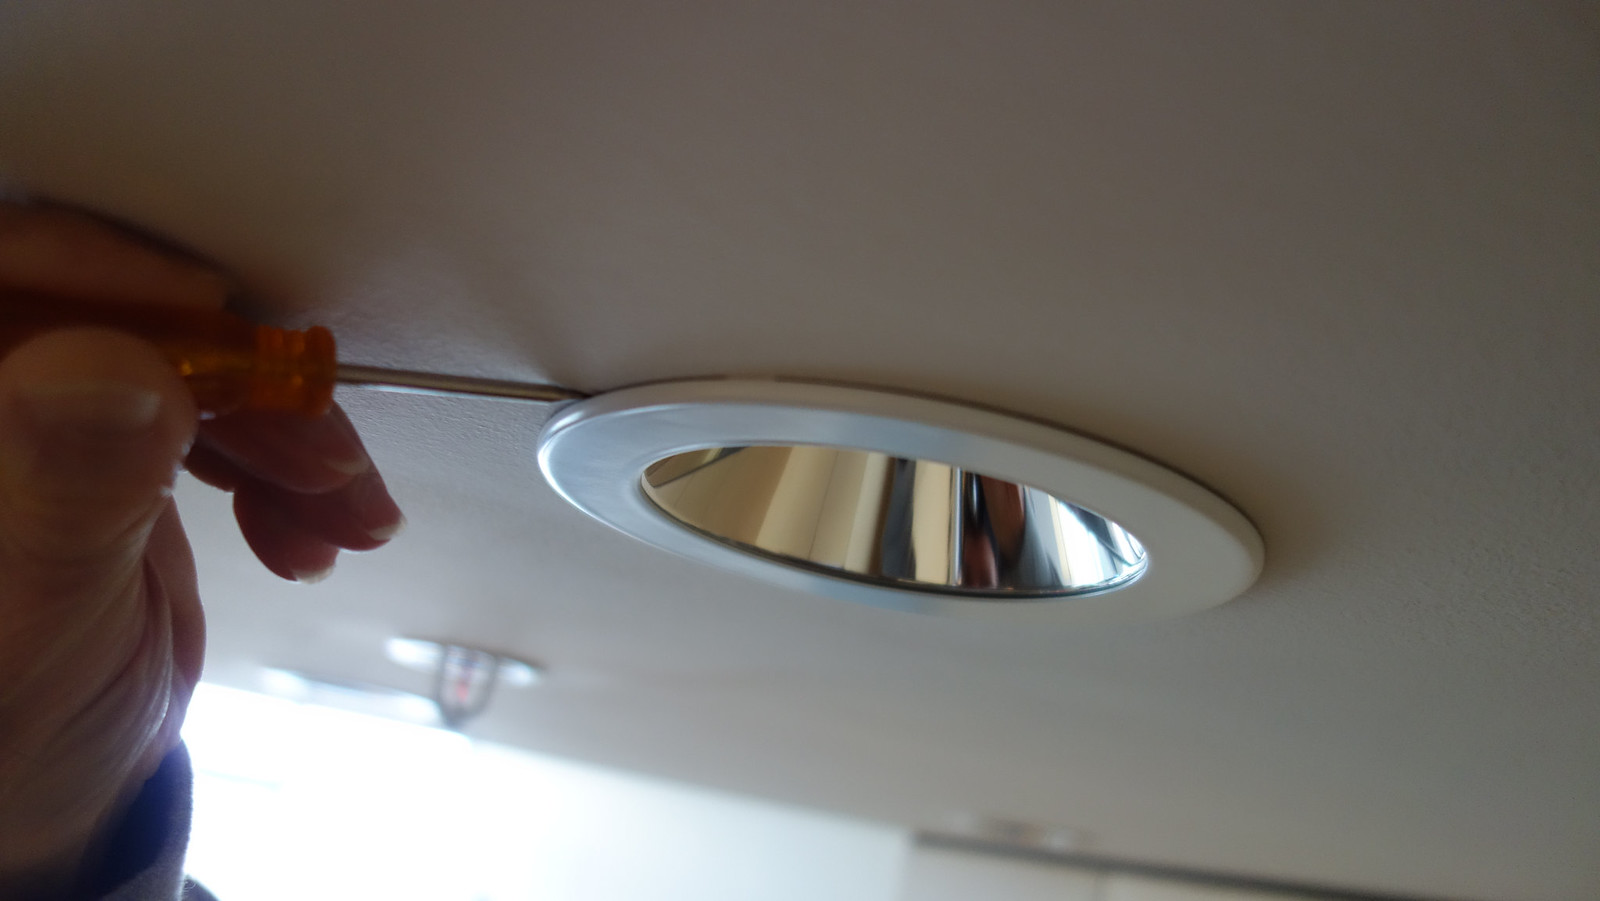
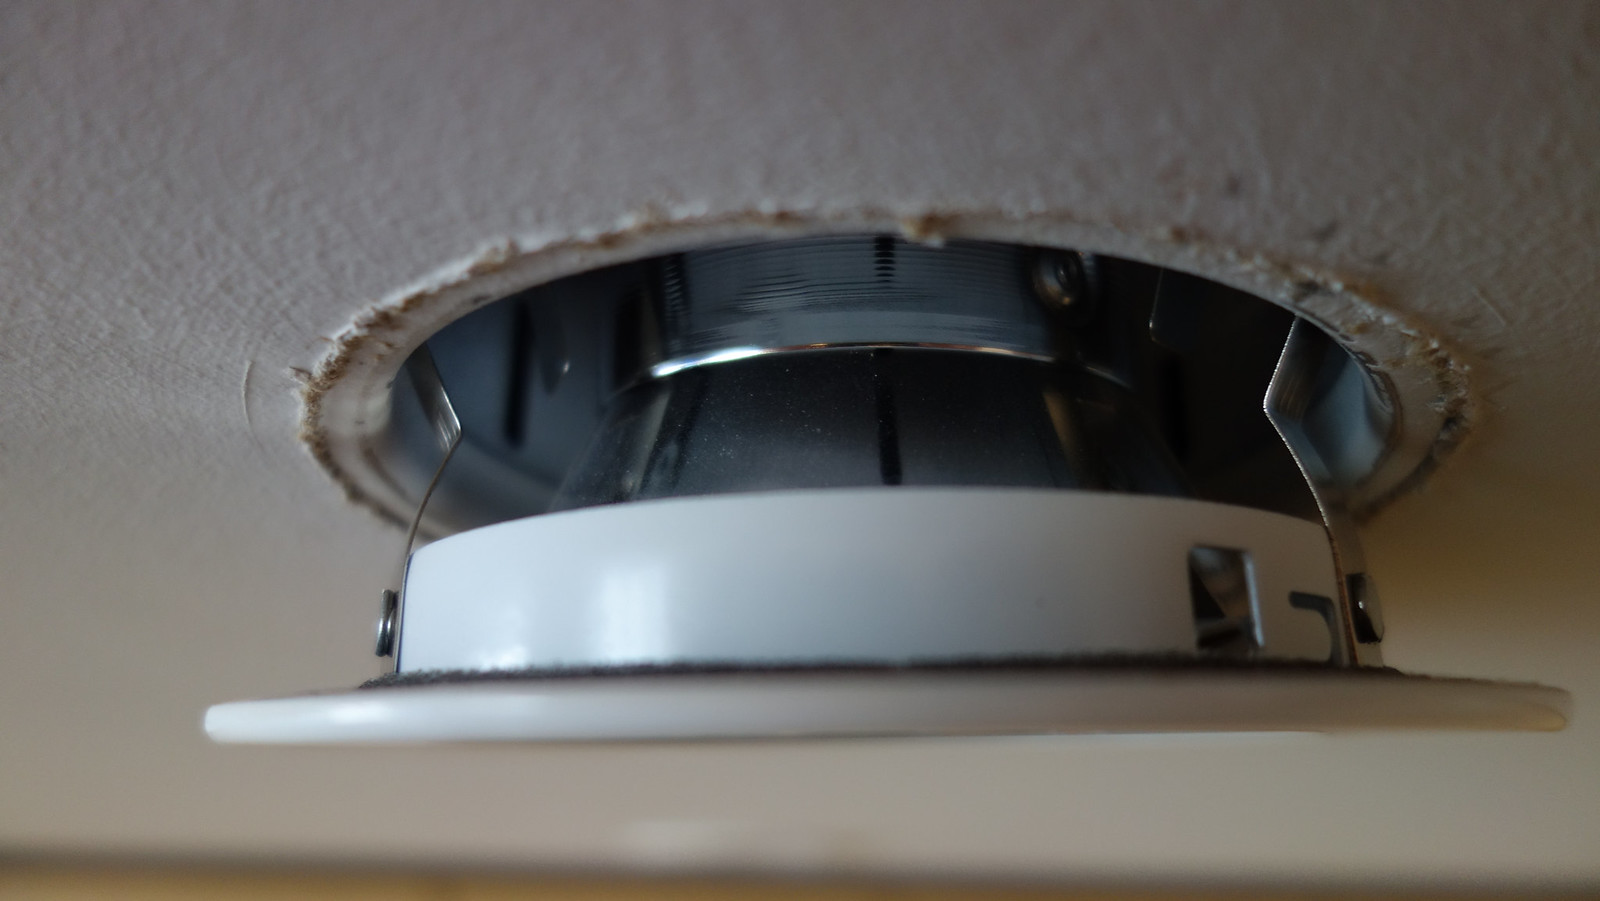
You do this by carefully pulling down on the trim kit until it is free of the recessed can. You basically use your fingernails but a small screwdriver is useful to get that first grip. There are three spring clips that hold the kit in place and it's easiest to push one clip in at a time with your fingers until the kit is free.
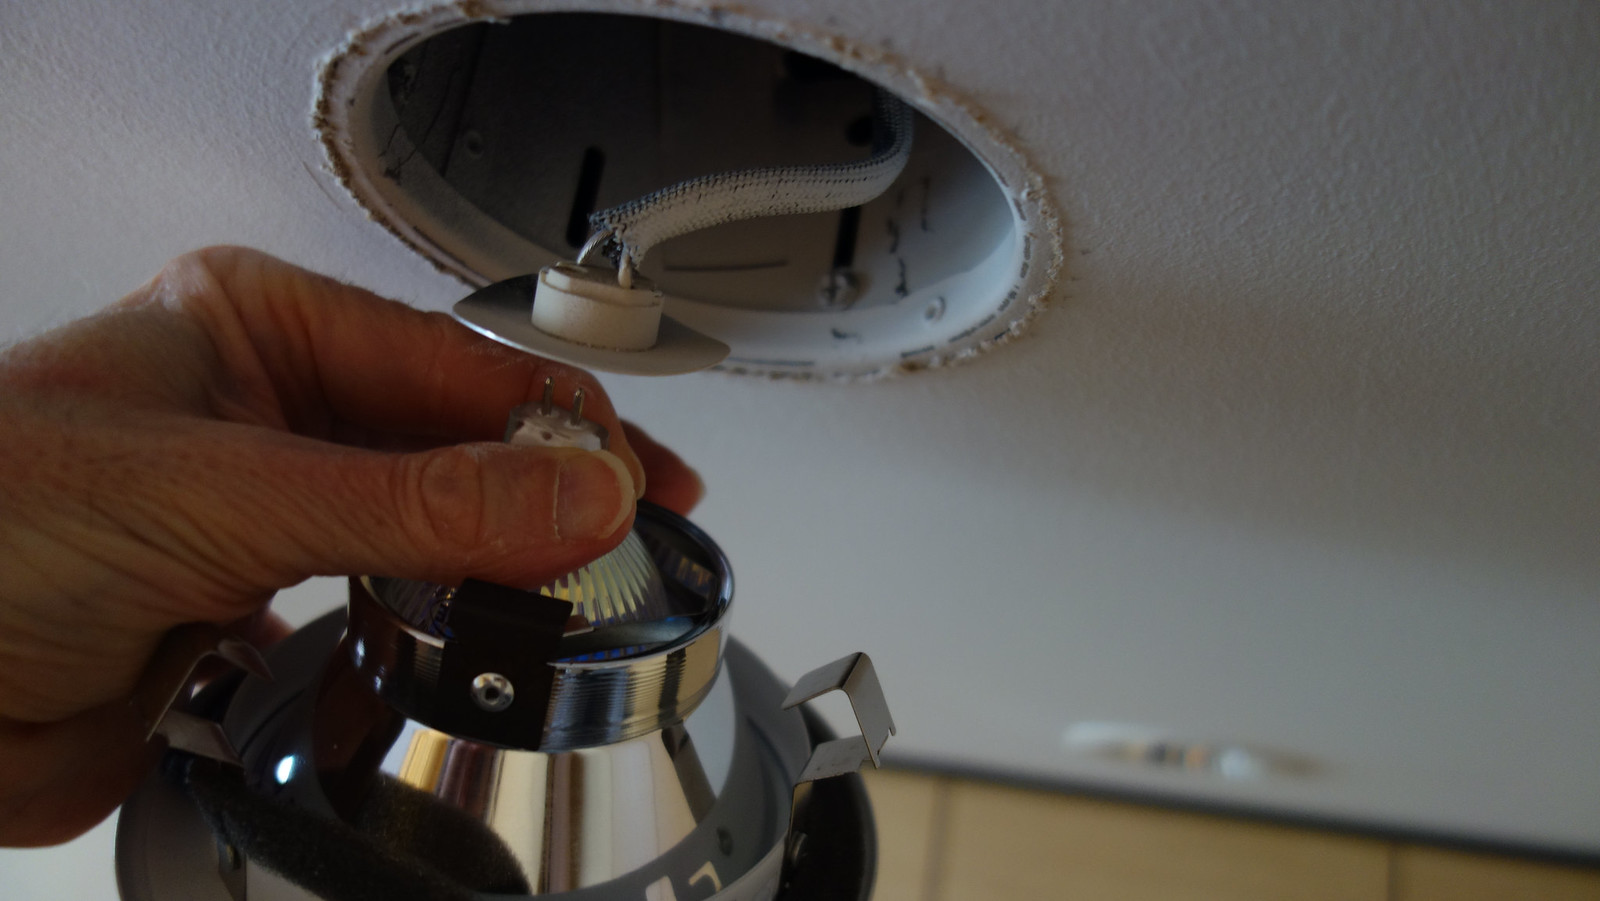
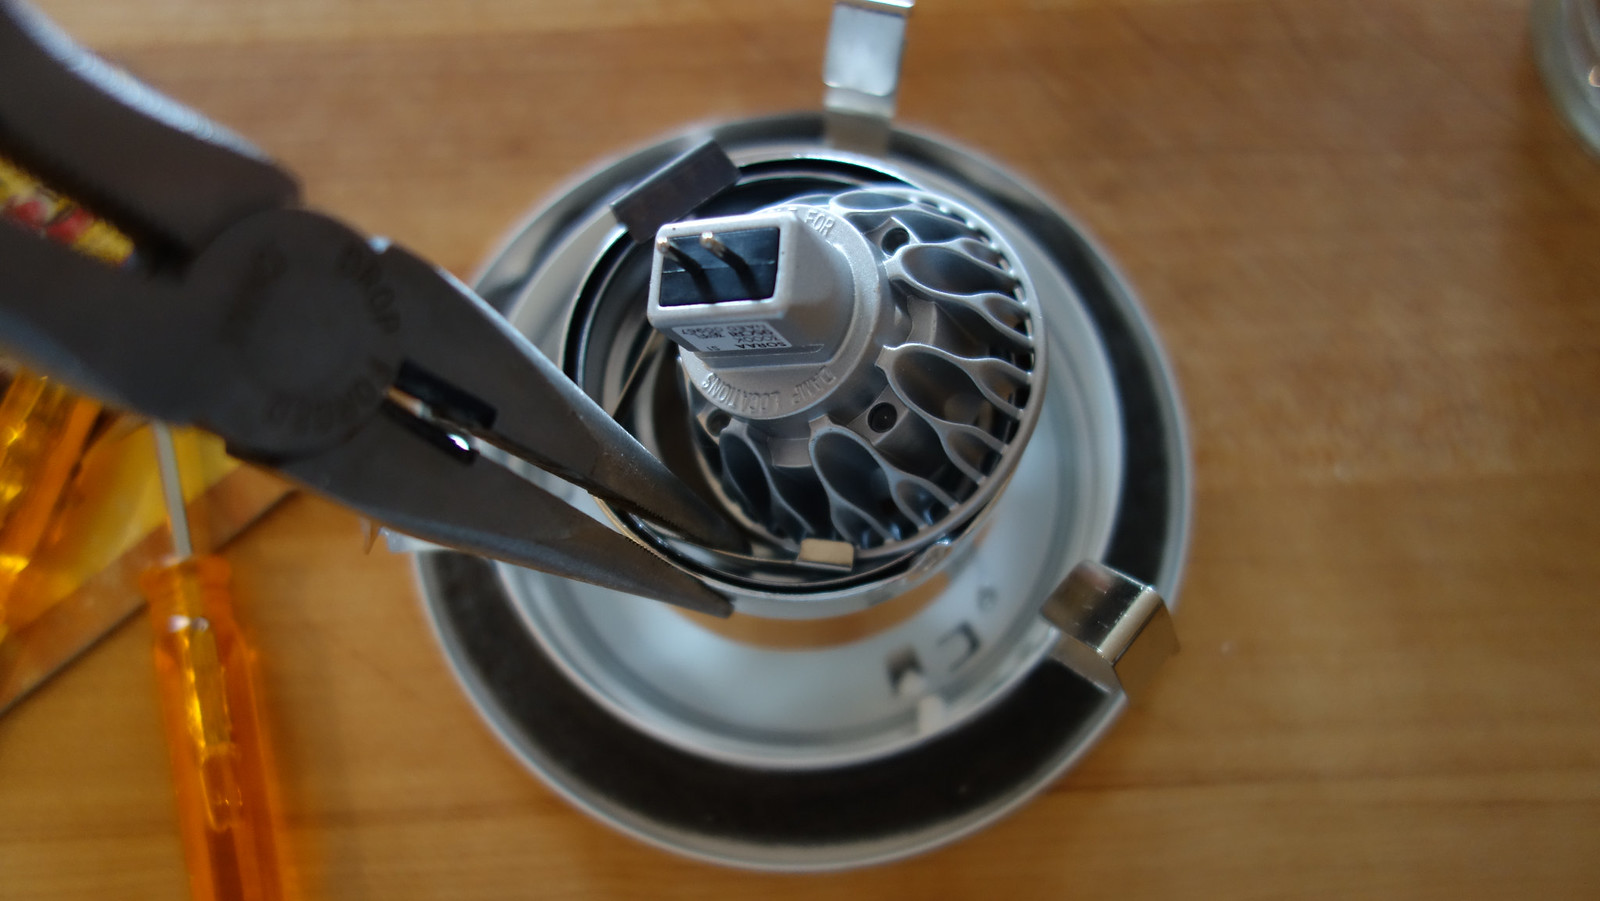
Step 2: Unplug the power cord from the bulb while it's still in the trim kit. First note that the bulb and kit are fairly light weight and can simple hang in the air while attached to the power cord. Do not attempt to remove the bulb before disconnecting the power cord or removing the trim kit. To remove the cord hold put one hand on the power cord's round metal plate and the other on the end of the bulb. Gently pull the power cord socket off the bulb pins - you may need to rock it back and forth a bit as it is a secure connection, but it should come out without too much effort. Now take the trim kit, with the bulb still in it, to a table to perform the process of replacing the bulb.
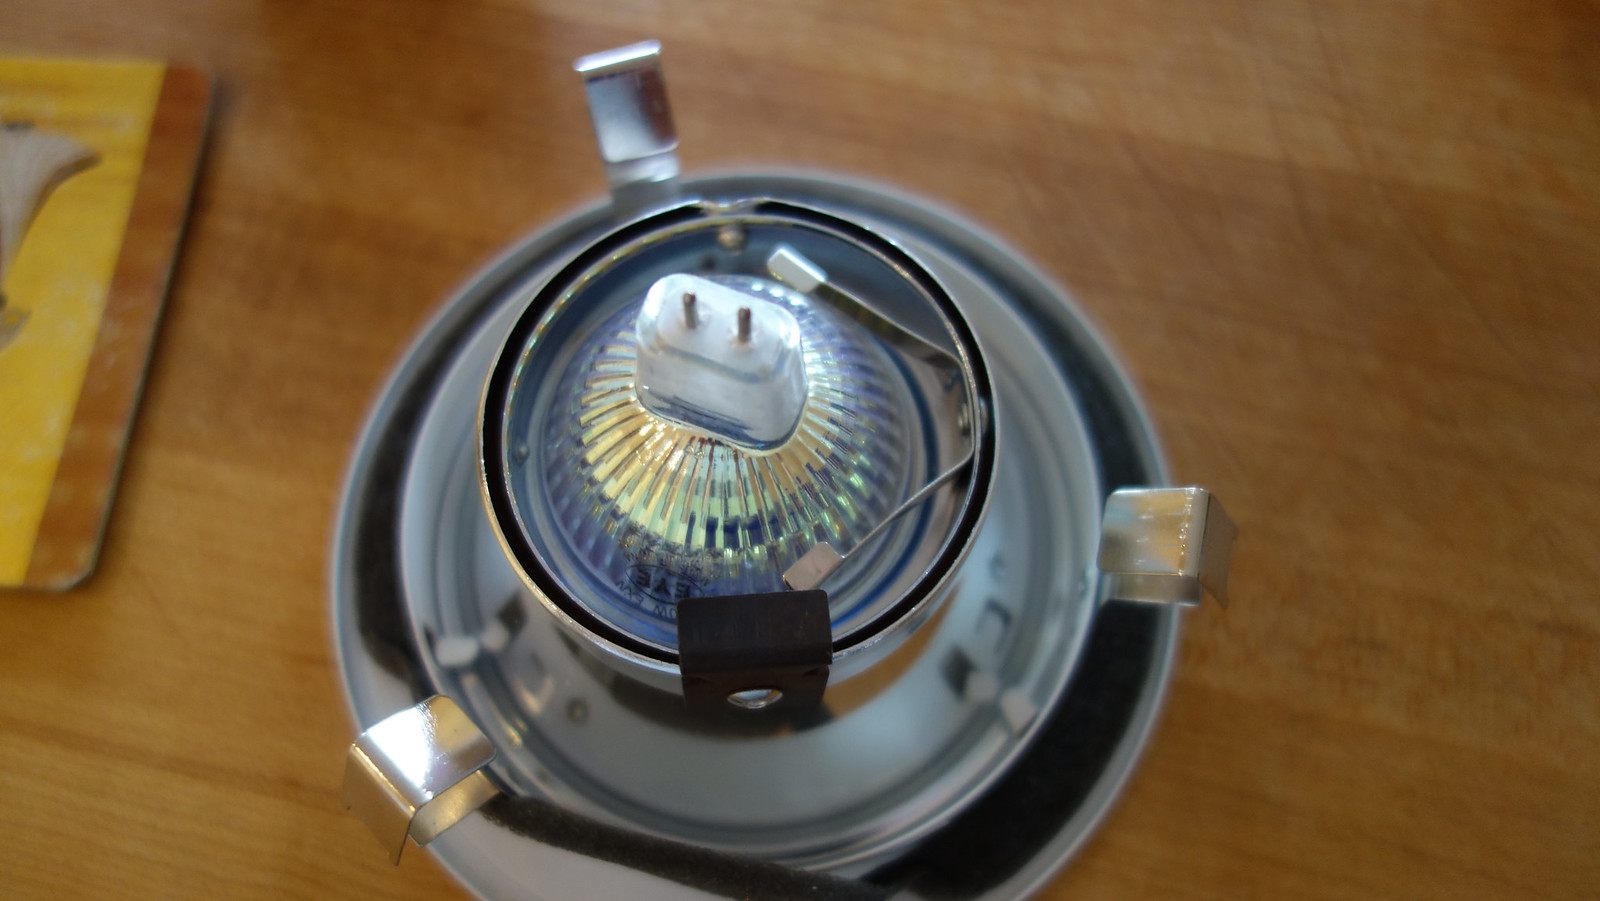
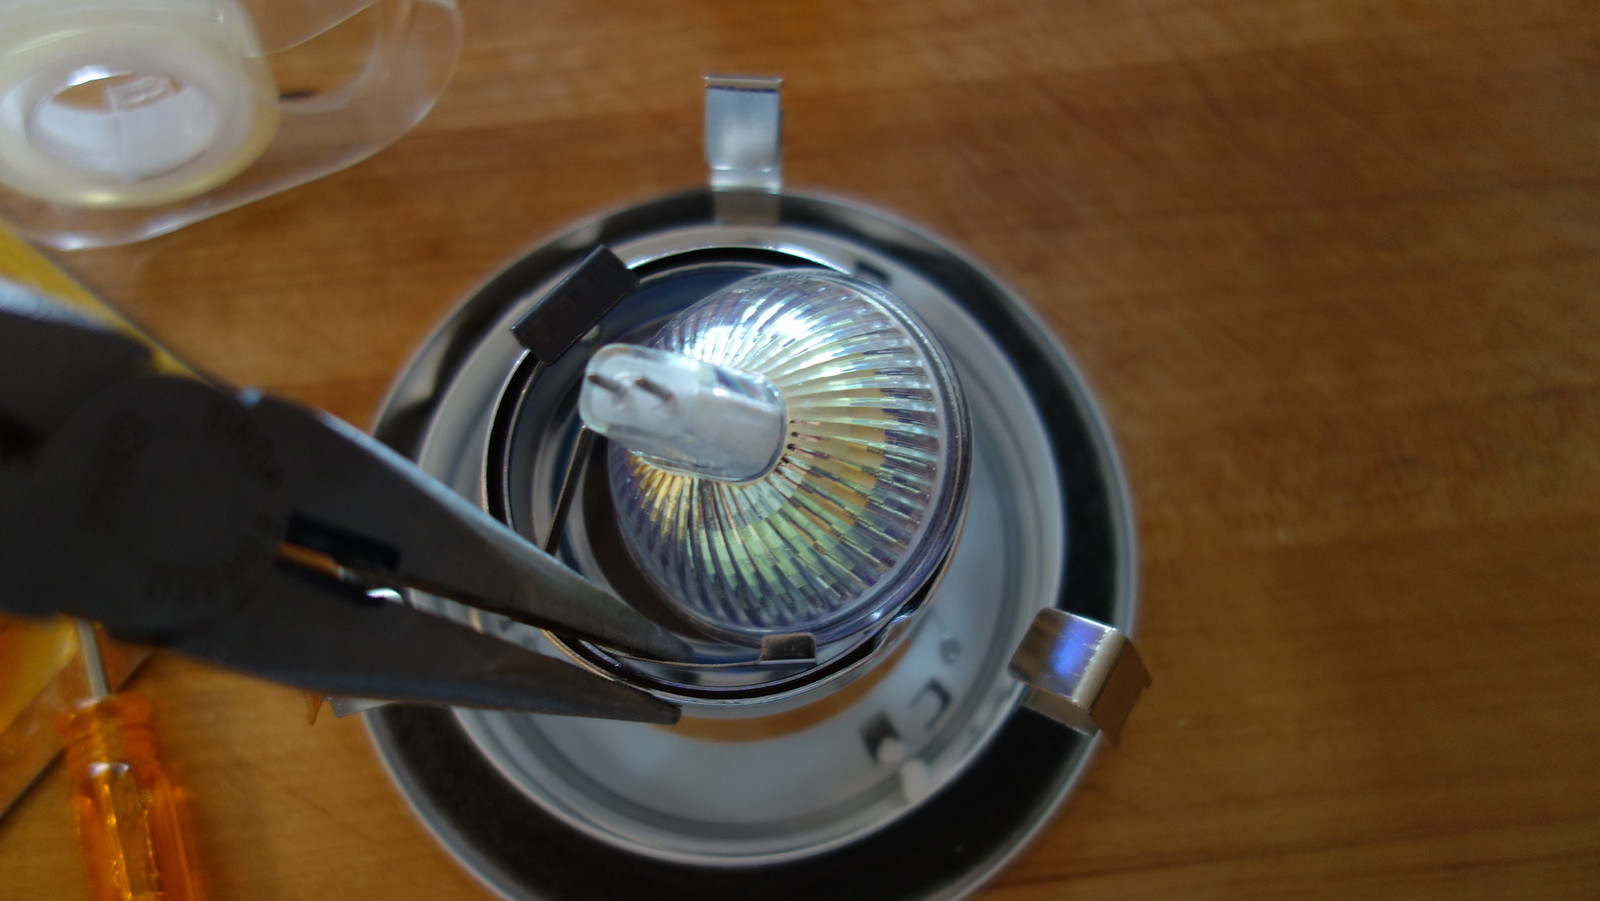
Step 3: Replace the bulb in the trim kit. Place the trim kit face down on a table. The bulb will be at the top. Note the bulb is held to the trim kit using a couple of spring clamps. Remove the bulb by pulling one of the clips to the side and then carefully angling the bulb out of the trim kit. Using pliers may make this job easier but be careful not to permanently bend the clip. Once the bulb is free you can remove the round piece of glass (from the top) at the bottom of the trim kit and clean it. Replace the glass and a put the new bulb in by pulling back on one of the clips and angling the bulb into place. Note - if you are replacing the bulb with another halogen bulb it is highly recommended to use latex or nitril gloves so as not to get any oil on the new bulb's quartz envelope. Oil from your hands can cause a hot spot and reduce the life of the bulb. This isn't a problem for my Soraa bulb with its all aluminum heat-sink enclosure.


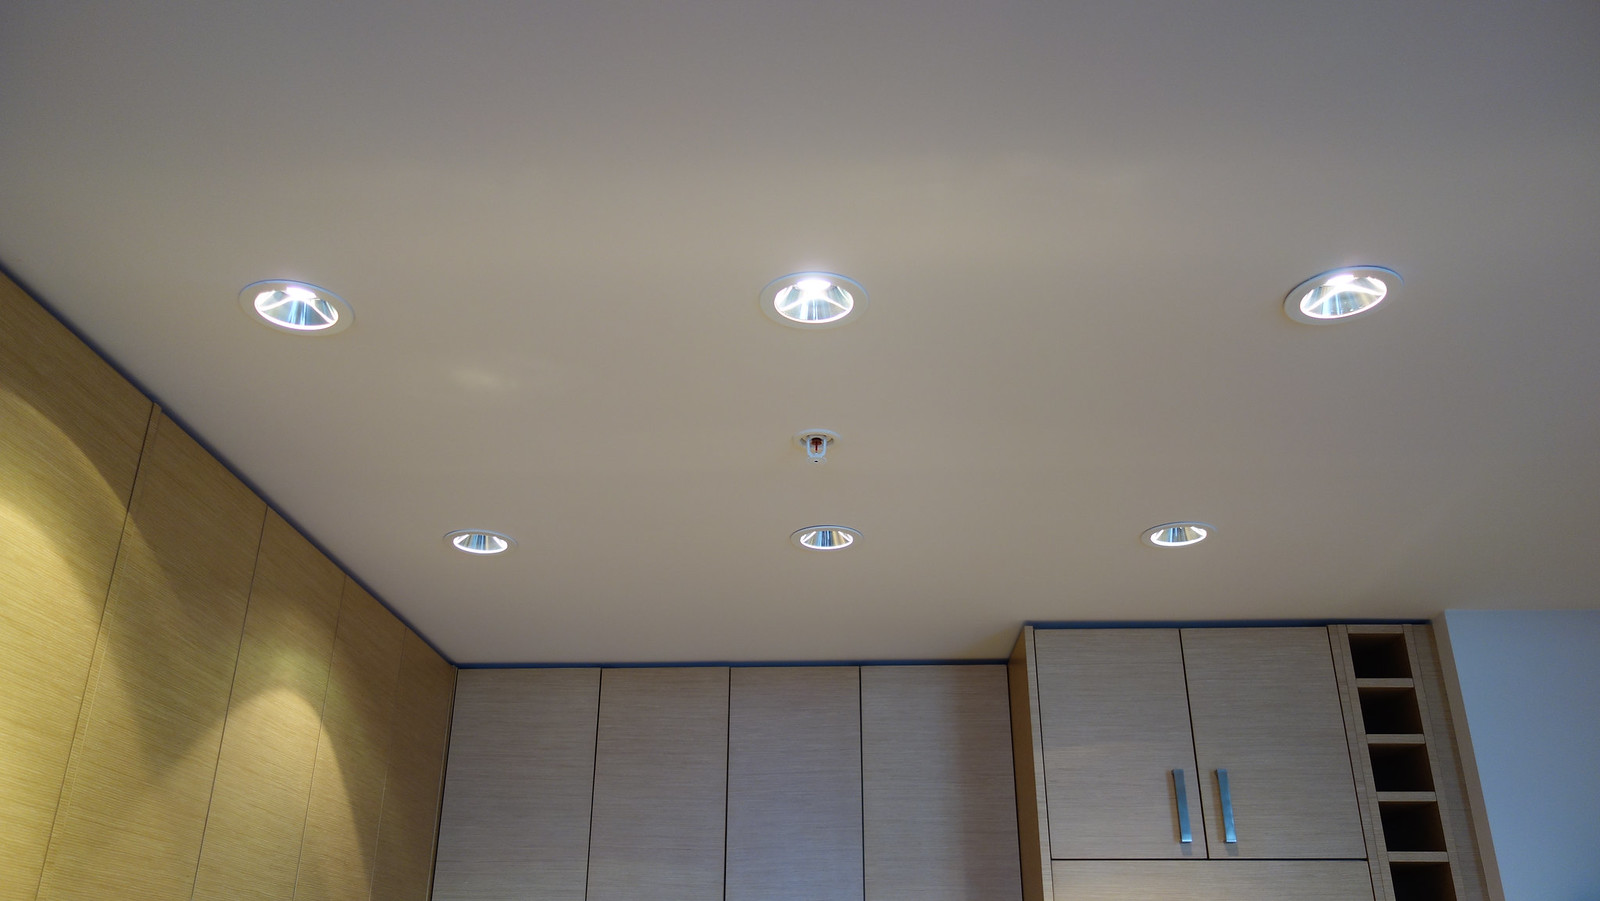
Step 4: Replace the trim kit and reconnect the power cord. Pretty much a reverse of the step to remove the trim kit. First reconnect the power cord by pushing the socket onto the bulbs pins. Then carefully reinsert the trim kit back into the recessed can. Again, pushing one clip in with your fingers at a time is helpful. If you're still wearing those gloves then you'll avoid any fingerprints on the ceiling in case you touch it. The final step is to turn the circuit breaker back on and flip the light switch!
The bulb I replaced it the middle one furthest from the camera. I have more bulbs on order but unitl Soraa adds their New York factory these bulbs will take a few months to get. 
- Mike K. and RoadRunner like this


#3231
JanionGuy
-

- Member
- 772 posts
Posted 29 March 2016 - 08:52 PM
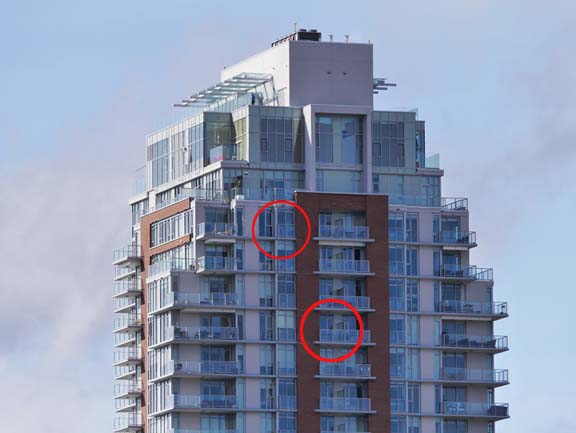
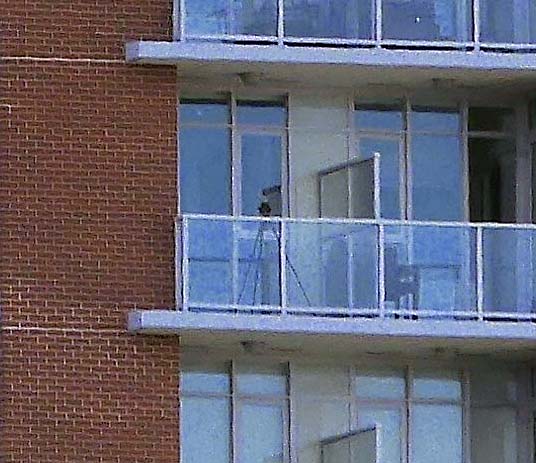
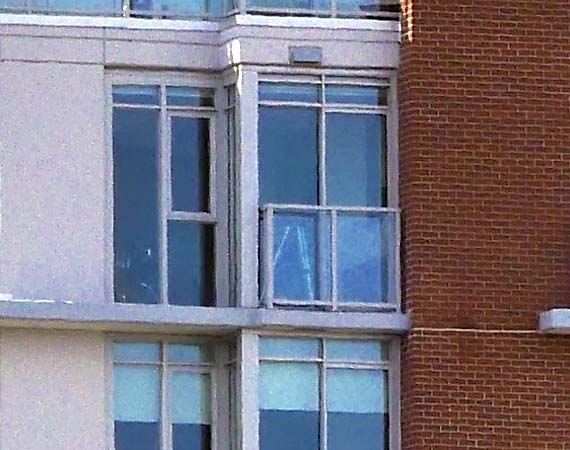
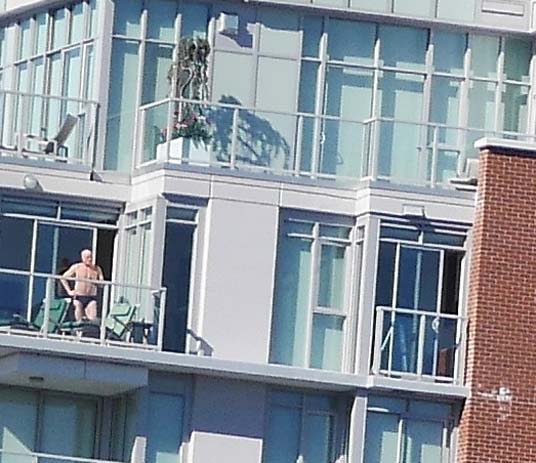
Is this a "FIND GARY" game? I'll play along. Gary, i know you're in there somewhere! Two units with tripods, one of which has a suntanning neighbour...
Attached Images
Edited by JanionGuy, 29 March 2016 - 08:53 PM.
#3232
VicHockeyFan
-

- Suspended User
- 52,121 posts
Posted 29 March 2016 - 08:56 PM
Nah, I've met Gary, he's not the Speedo™ guy.
- lanforod likes this
<p><span style="font-size:12px;"><em><span style="color:rgb(40,40,40);font-family:helvetica, arial, sans-serif;">"I don’t need a middle person in my pizza slice transaction" <strong>- zoomer, April 17, 2018</strong></span></em></span>
#3233
lanforod
-

- Member
- 13,472 posts
- LocationSaanich
Posted 30 March 2016 - 06:29 AM
I'd guess that first, lower down tripod as I know Gary isn't so high up. There is others on VV higher up though... Speedo guy?!?
#3234
laconic
-

- Member
- 741 posts
Posted 15 May 2018 - 01:06 PM
The large sub-penthouse on the 20th floor is for sale. It is 2/3 of that floor (two of the original sale units combined.
3000 sq ft, 6.8 million
https://www.realtor....Columbia-V9A0A1
- Matt R. likes this
#3235
VicHockeyFan
-
- Suspended User
- 52,121 posts
Posted 15 May 2018 - 02:17 PM
Any chance this was the developers own suite?
<p><span style="font-size:12px;"><em><span style="color:rgb(40,40,40);font-family:helvetica, arial, sans-serif;">"I don’t need a middle person in my pizza slice transaction" <strong>- zoomer, April 17, 2018</strong></span></em></span>
#3237
Mike K.
-
- Administrator
-

- 90,814 posts
Posted 15 May 2018 - 05:53 PM
I believe the twinned penthouse was purchased by Albertans, no? Could this sale be a symptom of the speculation tax?
Know it all.
Citified.ca is Victoria's most comprehensive research resource for new-build homes and commercial spaces.
#3238
laconic
-
- Member
- 741 posts
Posted 15 May 2018 - 06:33 PM
Not unless Alberta is annexing Mexico.
- VicHockeyFan likes this
#3239
Mike K.
-
- Administrator
-
- 90,814 posts
Posted 15 May 2018 - 07:58 PM
Oh, Intereting. We’re talking about the top floor unit, right?
Know it all.
Citified.ca is Victoria's most comprehensive research resource for new-build homes and commercial spaces.
#3240
laconic
-
- Member
- 741 posts
Posted 15 May 2018 - 09:06 PM
The penthouse on the 21st floor is the Albertans. I said sub-penthouse.
You're not quite at the end of this discussion topic!
Use the page links at the lower-left to go to the next page to read additional posts.
Use the page links at the lower-left to go to the next page to read additional posts.


2 user(s) are reading this topic
0 members, 2 guests, 0 anonymous users

